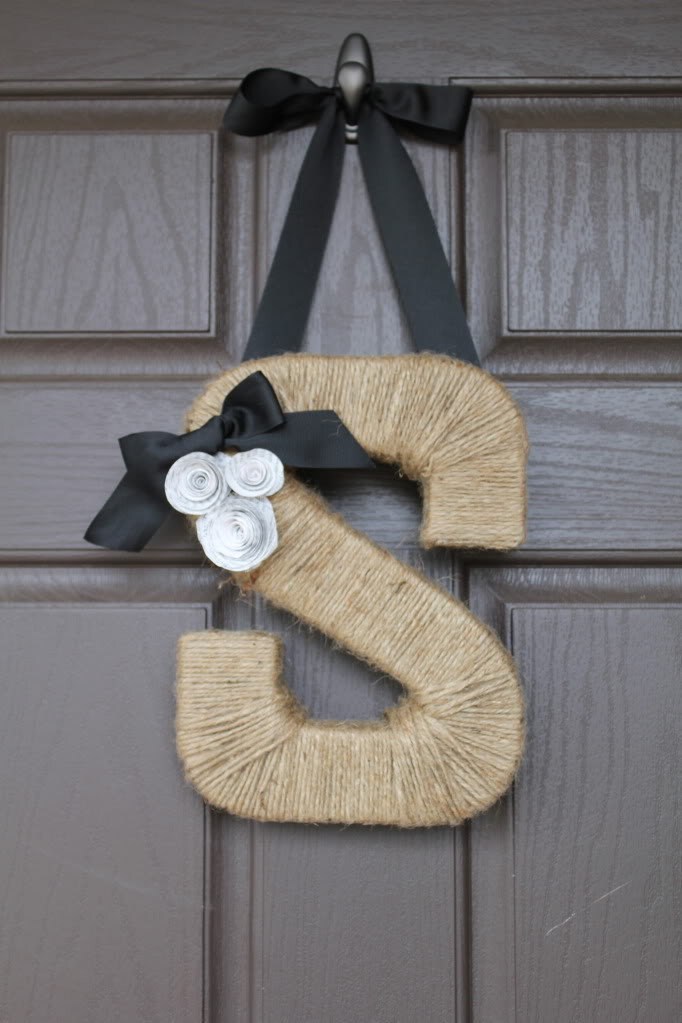
Last night, at Brad's suggestion, was "DIY" date night. After seeing this on Pinterest:
we decided that we would attempt to make our own. After a delicious dinner (prepared by yours truly), we headed to Michael's to pick up the supplies.
Brad managed to find this lovely "N" in the clearance bin. Final price: $0.90. We also picked up some flowers and ribbon:
...and a glue gun.
We had to stop at Sears to pick up some twine, since they didn't have any at Michael's (really?). Then we headed home and got to work.
We wrapped the letter with twine (it was a bit more time consuming and complicated that we originally anticipated, but it was worth the work), then added the flowers.
The final project looks like this:
and will soon be hanging on our front door! We had fun, and working on arts and crafts definitely made for an interesting date night. Brad knew that his handiwork would be displayed on the blog, and proudly sang, "Nothing but Nelson!" as he worked (for you Northwestern folks, it was in the tune of KBK).
No worries -- I still managed to end the evening with a little bit of ice cream. :)
Stay tuned for a picture of out DIY project after it's in place, as well as a delicious recipe. Coming soon!
Until then,
Nikki
Showing posts with label DIY. Show all posts
Wednesday, October 12, 2011
Thursday, September 29, 2011
I love you because...
Thank you so much for all of the congratulations and well-wishes. I feel very blessed. :)
I wanted to share with you a little DIY project that I made last week. I was inspired by something that I saw on Pinterest (you can follow me here). This was one of those projects that I previously may have laughed at and dismissed, but Brad and I have discussed the importance of continuing to fall in love with each other. What better way to do that than to be reminded every single day why your partner loves you?
I made the background using Microsoft Publisher, and printed it online through a photo-printing website. I put it in a frame and voila! I left a blank line after where it says "I love you because..." so we can change it all the time. We use a dry erase marker and write directly on the glass of the picture frame.
It's a great addition to our home and a great reminder of how loved we are every single day. I highly encourage you to give it a try!
Until next time,
Nikki
Subscribe to:
Posts (Atom)


